

A Guide to Under Counter Fridge Dimensions for LA Restaurants
When you're outfitting a commercial kitchen, every single inch matters. Under counter fridge dimensions aren't just numbers; they're the key to a smooth, efficient workflow, whether you're running a busy Koreatown BBQ joint or a packed Los Angeles food truck. Getting these measurements right from the start is non-negotiable.
Decoding Standard Undercounter Fridge Dimensions
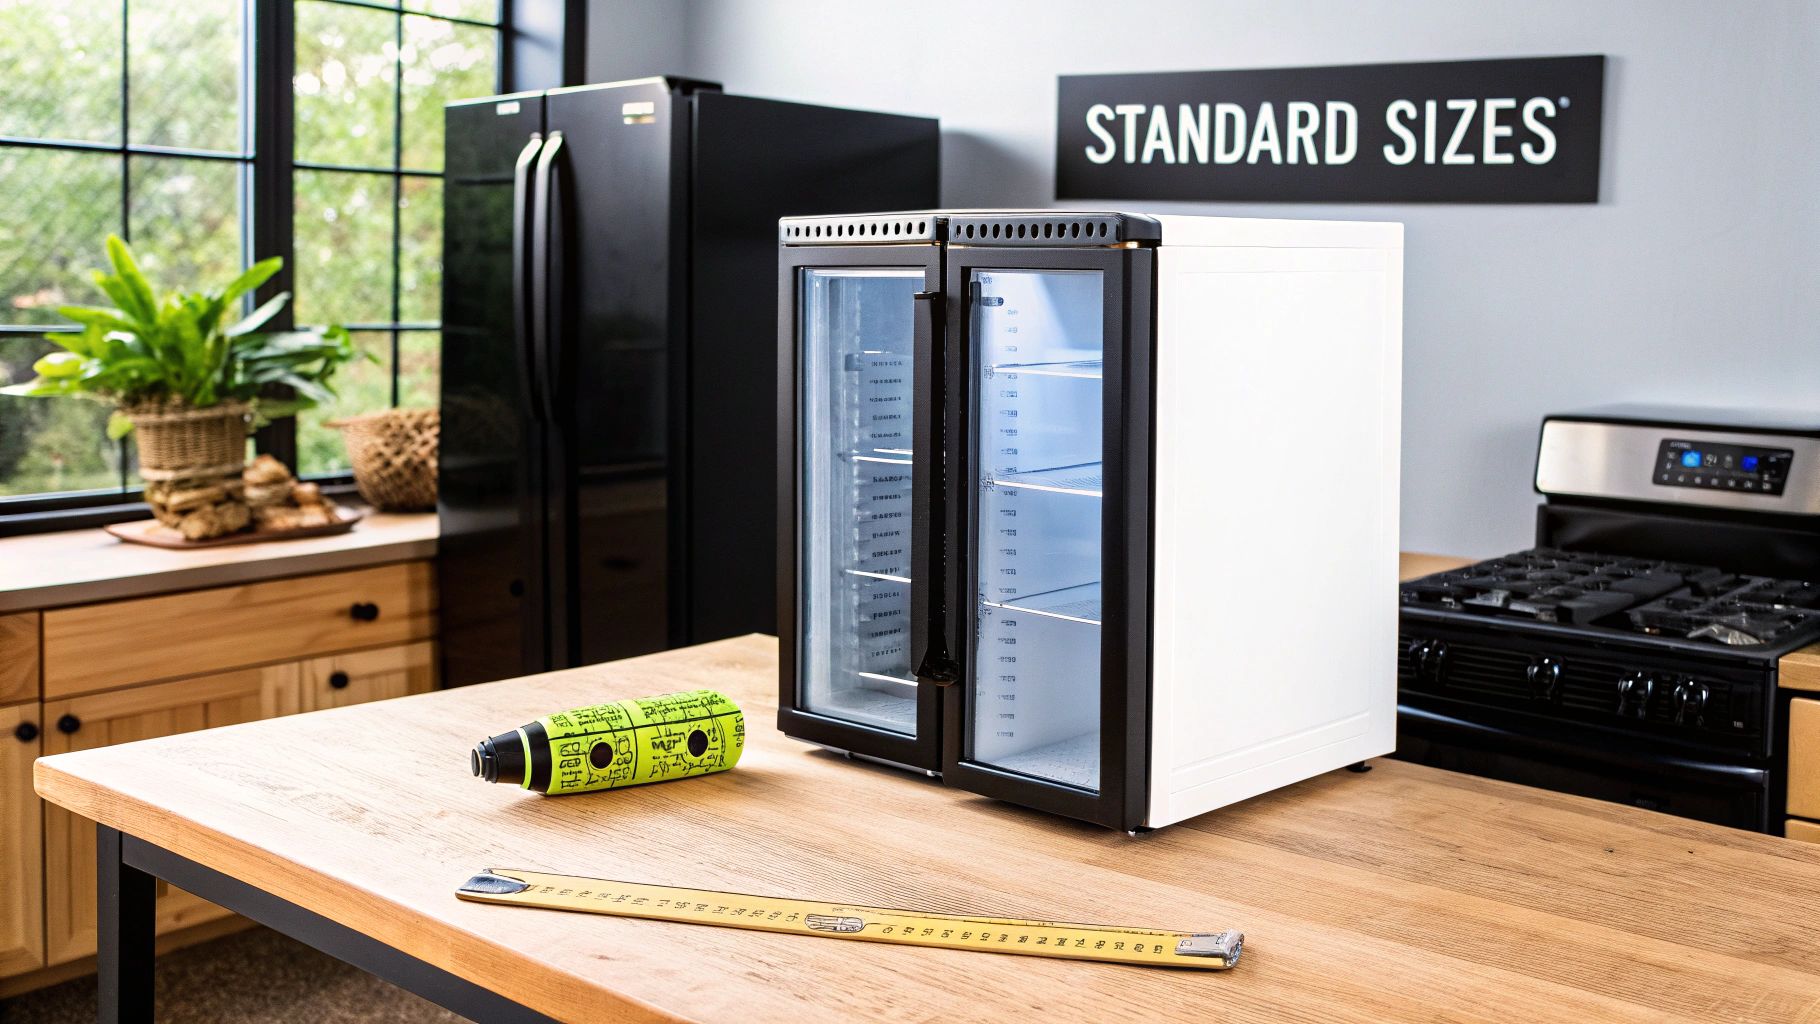
From a high-end Japanese restaurant to a neighborhood taco truck, undercounter refrigerators are built to slot right into standard commercial layouts. This is a huge advantage for kitchen managers, as it simplifies the entire planning and purchasing process. You can select units with confidence, knowing they’ll integrate into your line of restaurant equipment.
Most of these workhorse units are designed to slide perfectly under standard 36-inch countertops. This means they typically measure between 34 to 36 inches in height. The depth is almost always a standard 24 inches, while widths can vary, commonly coming in at 15, 24, or 30 inches. This design ensures there's just enough room for proper airflow and easy access, even when service is hitting its peak.
To help you get a quick sense of what's out there, we've put together a handy table summarizing the most common industry dimensions.
Standard Commercial Undercounter Fridge Dimensions at a Glance
This table breaks down the typical sizes you'll encounter, making it easier to pinpoint the right unit for your specific station or space.
| Common Width | Typical Height Range | Standard Depth | Best For |
|---|---|---|---|
| 15" | 34" - 36" | 24" | Narrow bar areas, small coffee stations, or dedicated ingredient storage. |
| 24" | 34" - 36" | 24" | The most versatile size, ideal for prep lines in Mexican or Chinese kitchens. |
| 30" | 34" - 36" | 24" | High-capacity needs, such as beverage storage or holding bulk prep items. |
Choosing the right size is all about boosting your kitchen's efficiency. To dive deeper into specific models and find the perfect match for your operation, be sure to check out our complete guide on the best commercial refrigerators.
Exploring Different Undercounter Fridge Configurations
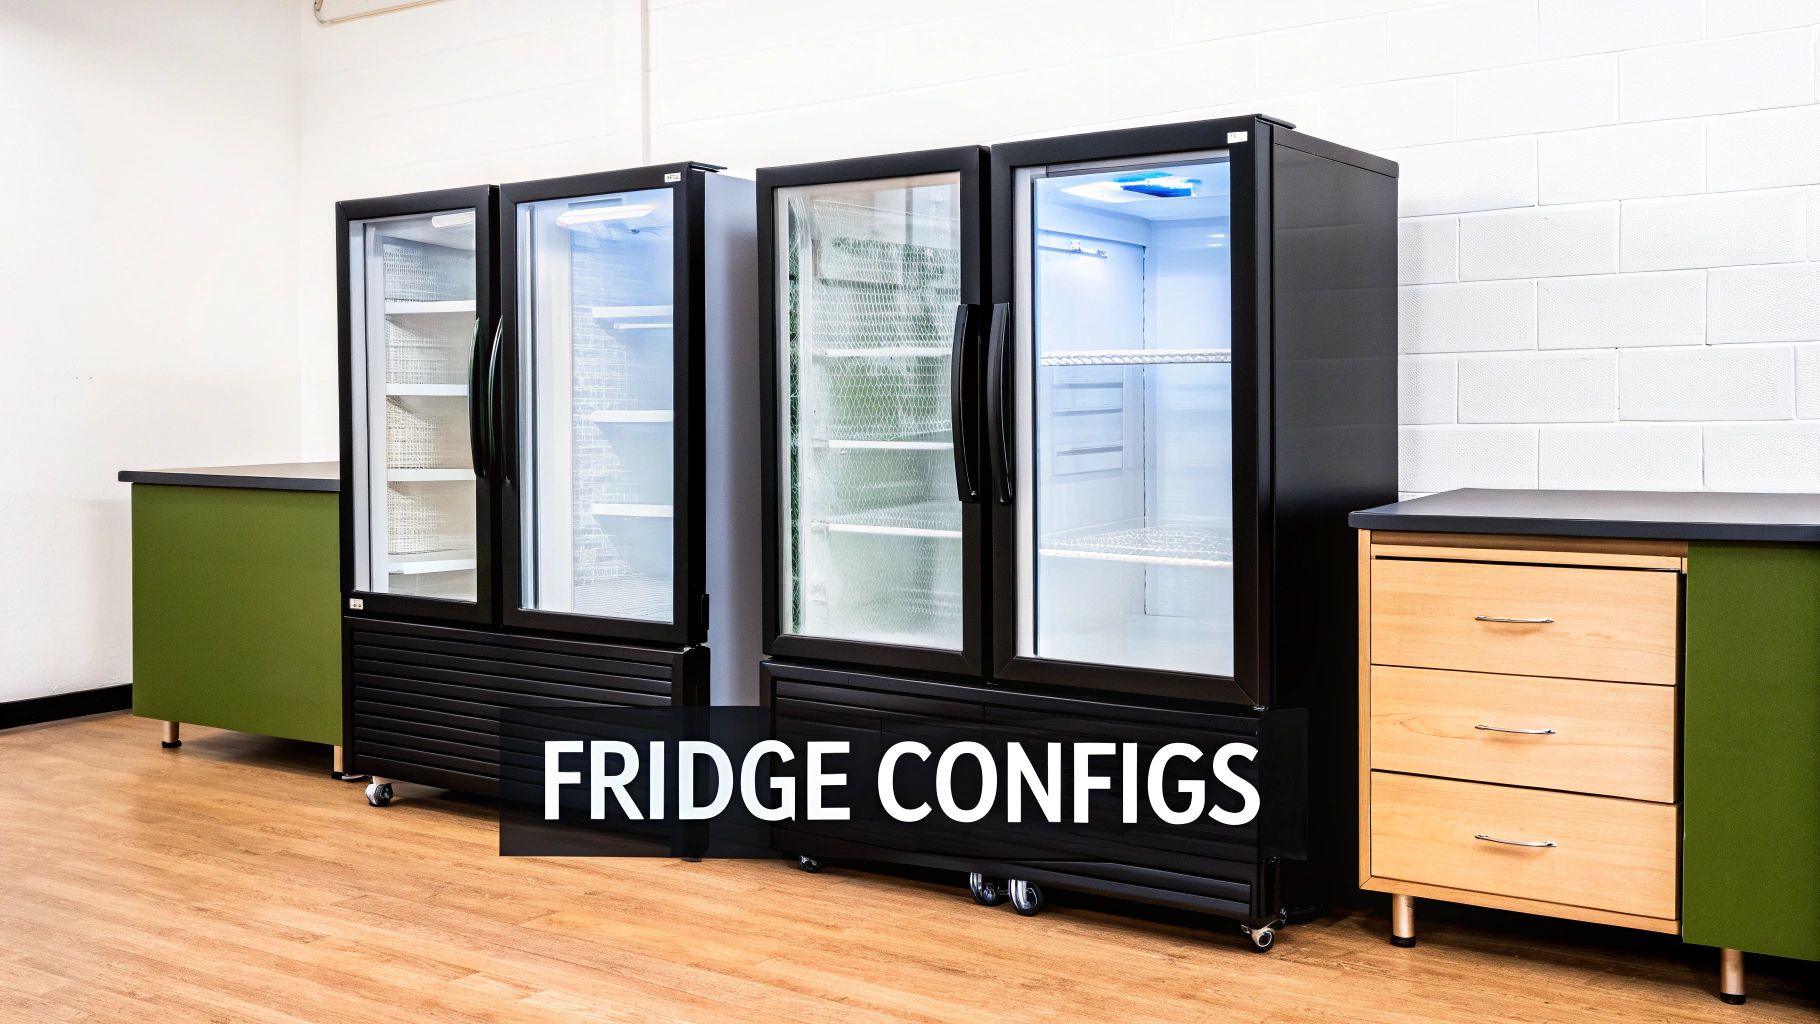
Choosing the right under-counter fridge dimensions goes way beyond just making sure a unit fits. It’s really about matching the equipment’s design to your kitchen’s workflow. How your staff gets to ingredients is directly affected by the door or drawer setup, and that can make all the difference during a hectic dinner rush in any Los Angeles kitchen.
You've got everything from solid door commercial refrigerators built for insulation to glass door units made for display. Each one has a specific job, and understanding the differences is how you optimize a station, whether it’s for a high-volume prep line or a bar that's front-and-center with customers.
Solid Door and Glass Door Models
Think of solid door undercounter refrigerators as the workhorses of your back-of-house. Their biggest advantage is superior insulation, which is key for holding consistent temperatures and boosting energy efficiency—a huge deal for any restaurant trying to keep overhead low. These are perfect for stashing bulk ingredients, prepped items, and anything else that doesn't need to be seen in your Korean or Thai food establishment.
Glass door models, on the other hand, are all about visibility and speed.
- Bar Setups: Your bartender can spot a specific craft beer or mixer instantly without even opening the door, which keeps the drinks flowing faster.
- Sushi Bars: Chefs can showcase the freshness of their fish and ingredients to customers, all while keeping everything perfectly chilled in a commercial refrigerator.
- Los Angeles Cafes: Stick a glass door unit by the register, and you’ll see an uptick in impulse buys for bottled juices and sodas.
The trade-off is that glass doors offer slightly less insulation than their solid counterparts, but it’s a small price to pay for the convenience they bring to fast-paced spots.
Refrigerator Drawer Configurations
When it comes to prep stations where speed and organization are everything, undercounter refrigerator drawers are often the clear winner. Instead of swinging a door wide open and digging for an ingredient pan, a chef can just pull out a drawer for immediate, top-down access to everything inside.
This setup is a total game-changer in a busy downtown LA sandwich shop or a packed Los Angeles food truck. It lets a line cook grab sliced meats, cheeses, and veggies without bending over or getting in anyone's way, which absolutely shaves time off your tickets.
Drawer models are especially great for holding standard-sized food pans, keeping all your ingredients neatly organized and ready to go. A 48-inch drawer unit, for instance, can easily hold multiple pans of prepped toppings for a Chinese food prep line, streamlining the entire assembly process.
Comparing Common Configurations
To help you figure out what's best for your space, we've put together a table breaking down the typical under-counter fridge dimensions and capacities for each configuration. Pay attention to how much the widths can vary; this gives you the flexibility to pick a unit that fits your station's footprint and storage needs perfectly.
Undercounter Fridge Dimensions by Configuration Type
| Configuration Type | Common Widths (Inches) | Standard Height (Inches) | Standard Depth (Inches) | Capacity Range (Cu. Ft.) |
|---|---|---|---|---|
| Single Solid Door | 24" - 36" | 34" - 36" | 24" - 32" | 6 - 9 |
| Double Solid Door | 48" - 60" | 34" - 36" | 24" - 32" | 12 - 16 |
| Single Glass Door | 24" - 30" | 34" - 36" | 24" - 30" | 5 - 8 |
| Refrigerator Drawer | 27" - 72" | 34" - 36" | 30" - 32" | 7 - 20 |
As you can see, whether you need a compact single-door for a small café or a wide, multi-drawer unit for a demanding prep line, there's a configuration out there designed to meet your specific operational demands.
How to Measure Your Space for a Perfect Fit
Getting your measurements right is the most critical part of the process. One small mistake can lead to huge headaches, from delivery delays and return fees to serious disruptions in your workflow. This is true whether you're outfitting a brand-new food truck in East LA or renovating a historic restaurant downtown. It's not just about the opening itself—you have to think about the entire path from the delivery truck to its final spot.
Before you even think about buying a commercial freezer or fridge, grab a tape measure and follow these steps. Getting exact numbers is key, especially because floors and counters in many Los Angeles buildings, particularly older ones, are rarely perfectly level. Even a tiny difference can stop a unit from sliding into place.
Step 1: Measure the Opening in Multiple Places
Never assume your opening is a perfect rectangle. Buildings settle over time, creating small variations that can easily trip you up.
- Height: Measure the vertical space on the left, in the middle, and on the right. You'll want to use the smallest of these three numbers as your final height.
- Width: Do the same thing for the width—measure across the top, middle, and bottom. Again, take the narrowest measurement as your official width.
- Depth: Measure from the back wall to the very front edge of your countertops. Keep an eye out for any obstructions like plumbing, gas lines, or electrical outlets that stick out and cut into your usable depth.
Step 2: Account for Obstructions and Utilities
Once you have your basic dimensions, it's time to play detective and spot potential problems. A common thing people forget is the electrical outlet. Make sure there’s a proper outlet within reach of the fridge's power cord without needing an extension cord, which is usually a health code violation for commercial restaurant equipment.
Look for baseboards, trim, or chair rails that might make the opening smaller at the floor or partway up. These need to be included in your narrowest width measurement. For a broader look at how different equipment fits into a kitchen plan, this appliance sizing guide offers some great additional context.
Step 3: Map the Entire Delivery Path
Your final mission is to measure the whole delivery route. This is a huge deal for tight spaces, which are common in Los Angeles food trucks and older LA properties.
Walk the exact path from the curb to the kitchen. Measure the width of every doorway, hallway, and tight corner. Don't forget to think about any sharp turns where the crew will have to pivot the refrigerator.
Taking the time to do this check ensures your new unit will actually make it inside and get installed without any drama. For more tips on making the most of tight quarters, our guide on a small restaurant kitchen layout has some really useful strategies.
Essential Clearance and Ventilation Requirements
Ignoring proper clearance and ventilation is one of the quickest ways to kill your commercial refrigeration. In a packed Los Angeles restaurant or a tight food truck, where every piece of equipment is pulling double duty, proper airflow isn't just a suggestion—it’s critical for performance, energy efficiency, and avoiding a costly compressor burnout. An overheated unit has to work harder, eats up more electricity, and is far more likely to fail you during a dinner rush.
Think of ventilation as your fridge's breathing room. The compressor gets hot as it works to keep everything inside cool. If that hot air has nowhere to go and cooler air can't get in, the unit is basically choking. This puts a ton of stress on its most important parts, leading to wear and tear that'll shorten its life significantly.
This chart breaks down the essentials for measuring your space correctly, which is the first and most important step to making sure you've got enough clearance.
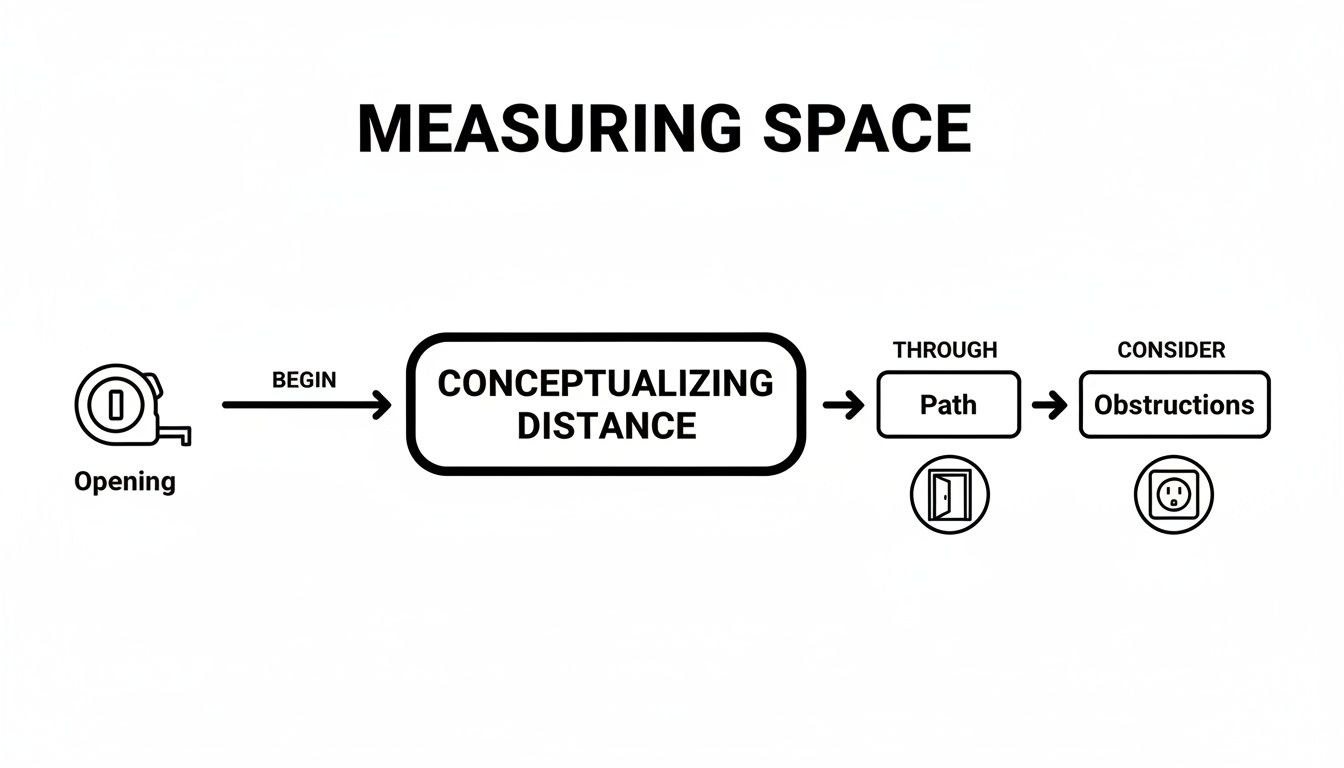
As you can see, it's about more than just the hole it slides into. You have to think about the delivery path to get it there and any obstructions that might get in the way. Nailing the measurements is step one for a good install and proper ventilation.
Front-Venting vs. Rear-Venting Models
The biggest thing that dictates your clearance needs is how the unit is designed to breathe. Commercial under-counter fridges come in two main flavors: front-venting and rear-venting. Knowing which is which is absolutely essential for any LA kitchen setup.
- Front-Venting Units: These are your go-to for any built-in or flush-mount installation. They pull air in and push it out through a grille on the front, usually right at the bottom. This design means you can install them snug with your cabinets, needing zero clearance on the sides and back.
- Rear-Venting Units: These are more common for freestanding models and they vent heat out the back, and sometimes the sides. They need a good amount of open space to work right—usually 2-4 inches at the back and another 1-2 inches on each side—to keep from overheating.
A front-venting model is perfect for that tight prep line in a Koreatown BBQ joint, but a rear-venting unit might be fine in a more open storage area. Whatever you do, never box in a rear-venting unit without leaving that manufacturer-specified gap. It's a guaranteed way to cause an equipment failure.
Specific Clearance Guidelines
You should always, always check the manufacturer’s spec sheet first, but there are a few general rules of thumb. For pretty much any under-counter fridge, it’s a good idea to leave at least 1/8 to 1/4 inch of space on the top and sides. This tiny bit of wiggle room just makes sliding the unit in and out so much easier and keeps it from vibrating noisily against other equipment.
For a busy Thai spot in LA, that little gap can be the difference between a quiet kitchen and an annoying rattle. It also gives service techs the room they need to work. And remember, blocking the front grille on a front-venting model is just as bad as boxing in a rear-venting one. Keep that area clear of mats, boxes, or anything else that could block the airflow and protect your investment.
Choosing Between Built-In and Freeststanding Units
When you're figuring out your under counter fridge dimensions, you'll quickly run into another big decision: built-in or freestanding? This choice affects more than just the look of your L.A. establishment—it dictates where you can even put the thing. The real difference is all about ventilation, and that detail changes the entire installation game.
A built-in undercounter fridge is engineered to slide right into your cabinetry, giving you that seamless, integrated look. It’s perfect for a customer-facing bar or a high-end Japanese restaurant's prep line where aesthetics matter. These units are always front-venting, pulling in and pushing out air from a grille at the bottom front. This clever design means you can install them with zero clearance on the sides and back, making them a lifesaver in tight spots.
The Flexibility of Freestanding Models
On the other hand, freestanding units give you more freedom in terms of placement, but they have their own rules. These models usually breathe from the back and sides, so you absolutely can't box them into cabinetry without leaving several inches of open space for air to circulate. If you ignore this, you’re looking at a fried compressor—a costly mistake for any L.A. food truck or busy Thai kitchen.
Freestanding fridges are a great fit for open kitchen areas, storage rooms, or any spot where you might need to shuffle restaurant equipment around. They're typically easier to install and a bit friendlier on the wallet upfront, but they don’t offer that polished, custom look you get from a built-in model. You can dig deeper into how different designs impact your utility bills in our guide to energy-efficient commercial refrigerators.
For a high-end L.A. bar going for that sleek, polished vibe, a built-in, front-venting model is the only real option. But for a bustling Mexican kitchen that just needs a reliable prep fridge they can easily roll out for cleaning, a freestanding unit makes a lot more sense.
Key Factors for Your Decision
If you’re leaning toward a built-in under-counter fridge, it has to integrate perfectly with your current or planned millwork. This means you’ll need a good handle on your options for kitchen cabinets to get that flawless fit.
To nail down the right choice, think about these points:
- Aesthetics: Are you aiming for a clean, built-in look, or is pure function your main priority?
- Location: Is the unit getting enclosed in cabinetry, or will it stand on its own in an open area?
- Budget: Built-in models usually come with a higher price tag because of that specialized ventilation design.
- Flexibility: Do you see yourself reconfiguring your kitchen layout down the road?
In the end, choosing between built-in and freestanding is about balancing the look you want for your L.A. restaurant with the practical needs of your day-to-day operations.
Navigating ADA and Health Code Compliance
When you're mapping out a kitchen, the under counter fridge dimensions you choose are about way more than just slotting a unit into an empty space. For any restaurant, food truck, or commercial kitchen in Los Angeles, these measurements are directly tied to meeting crucial legal and safety standards. Both the Americans with Disabilities Act (ADA) and local health codes have very specific rules you have to play by.
Trust us, ignoring these regulations is not an option. Failing to comply can lead to hefty fines, busted inspections, and even legal trouble. A truly well-designed kitchen is one that’s safe, accessible, and ready for any employee or inspector who walks through the door.
ADA Requirements for Kitchen Accessibility
The Americans with Disabilities Act is there to make sure workspaces are accessible to everyone, including employees with disabilities. For under-counter refrigerators and the workstations they’re built into, this is all about counter height and having enough clear floor space. An ADA-compliant workspace isn't a "nice-to-have"; it's a non-negotiable part of any modern kitchen design.
- Counter Height: To be accessible, countertops can't be higher than 34 inches off the finished floor. This immediately rules out standard 34-inch or 36-inch tall under-counter fridges. You'll need to find a dedicated ADA-compliant model, which usually stands at 32 inches tall or less.
- Clear Floor Space: You have to provide a clear patch of floor measuring at least 30 inches by 48 inches right in front of the unit. This is to allow for wheelchair access, and it can't be blocked by other equipment or even temporary storage.
- Operating Controls: All the fridge's controls need to be easy to get to and operate with just one hand, without needing to grip tightly or twist your wrist.
Think about a Japanese restaurant in L.A. building out a new sushi bar. Making sure at least one of those stations is fully ADA-compliant—with the right under-counter fridge dimensions—is essential for creating a workplace that’s both inclusive and legally sound.
Sticking to ADA standards isn't just about dodging penalties; it's about building a functional and fair environment for your whole team. You’ll often find that a kitchen that’s accessible to one person is more efficient for everyone.
Los Angeles Health Code and NSF Certification
Beyond just accessibility, every single piece of commercial restaurant equipment has to meet the tough standards set by the Los Angeles County Department of Public Health. When it comes to refrigeration, this almost always means the unit has to be NSF certified.
NSF International is an independent group that tests and certifies products to make sure they meet public health and safety standards. That little NSF mark on an under-counter fridge is proof that it’s built for commercial use, is a breeze to clean, and is made from non-toxic, corrosion-resistant materials.
When an inspector visits your Korean BBQ spot or Thai food truck, one of the first things they'll look for is the NSF seal on your equipment. Using gear that isn't certified is a classic way to get hit with a violation. So, when you're looking at under counter fridge dimensions, making sure it has that NSF stamp is just as important as checking its height and width.
Frequently Asked Questions
When you're outfitting a new restaurant or food truck here in Los Angeles, a few key questions always come up about undercounter refrigerators. Getting the right answers from the get-go is the difference between a smooth installation and a major headache. Let's tackle some of the most common things we hear.
These are the details that can make or break your kitchen flow, from standard heights to what you can (and can't) put on top of your unit. Nailing this down protects your investment and prevents those frustrating installation day surprises.
What Is the Standard Height of a Commercial Undercounter Fridge?
Most commercial undercounter refrigerators are built to a height between 34 and 36 inches. There's a good reason for this specific range: it lets them slide neatly under a standard 36-inch high commercial countertop. That leaves just the right amount of space for proper ventilation, which is absolutely vital for your compressor to run efficiently and last a long time.
Imagine a busy Thai kitchen in L.A. installing these units along a prep line. They fit perfectly, creating a seamless, uninterrupted workspace. Just remember to always double-check the exact height of both the unit and your counter before you buy.
Can I Place Other Equipment on My Undercounter Fridge?
As a general rule, you should never place heat-generating equipment like griddles, charbroilers, or fryers on top of an undercounter fridge. The heat pouring off that restaurant equipment forces the refrigerator's compressor to work overtime just to stay cool, which skyrockets your energy bill and can lead to a burnout. This is especially true in the cramped, high-heat world of a food truck.
That being said, non-heat-producing items or light prep equipment are usually fine. If you plan on storing heavier things like a big cutting board or stacks of ingredient bins, always check the manufacturer's specs to make sure the top can handle the weight.
What Are the Electrical Requirements for These Units?
The good news is that most commercial undercounter fridges in the U.S. run on a standard 115V/60Hz connection. They usually come with a regular NEMA 5-15P plug, the kind you see everywhere in commercial kitchens.
But—and this is important—you have to check the spec sheet for the specific model's amperage draw. For safety and performance, every single refrigeration unit needs its own dedicated circuit. This is non-negotiable. It prevents you from tripping a breaker and losing a fridge full of product in the middle of a dinner rush at your Japanese restaurant or Mexican cafe.
How Much Clearance Does a Front-Venting Fridge Need?
Front-venting models are the go-to solution for true built-in installations where you have zero room on the sides or back. Since they pull air in and push it out through the grille on the front, they typically require zero clearance on the sides and rear.
This design is perfect for creating that sleek, seamless look in a bar or for maximizing space in a tight kitchen layout. The one critical rule is to never block the front grille. Obstructing it chokes off the airflow entirely, causing the unit to overheat and leading to very expensive, very premature equipment failure.
For a huge selection of commercial-grade undercounter refrigerators perfect for any Los Angeles kitchen, the experts at Los Angeles Restaurant Equipment have you covered. Come explore our inventory and find the perfect unit for your business at https://losangelesrestaurantequipment.com.